Start your journey with Bytes Route by creating a free account and logging on to your account. No billing information is required.
In order to register, you need to provide your name, your email address, and a password.
After registering, log in to your new account. The onboarding checklist will show you how to perform various tasks in order to get started and acquainted:
- Install the Bytes Route Chrome Extension. This will enhance your browsers’ capabilities.
- Create your first product tour using the tour builder.
- Connect your domain with Bytes Route by adding the Bytes Route script code snippet to your web application.
Password reset
In case you ever forget your Bytes Route account password, you can easily reset it by using this link
Installing the Chrome Extension
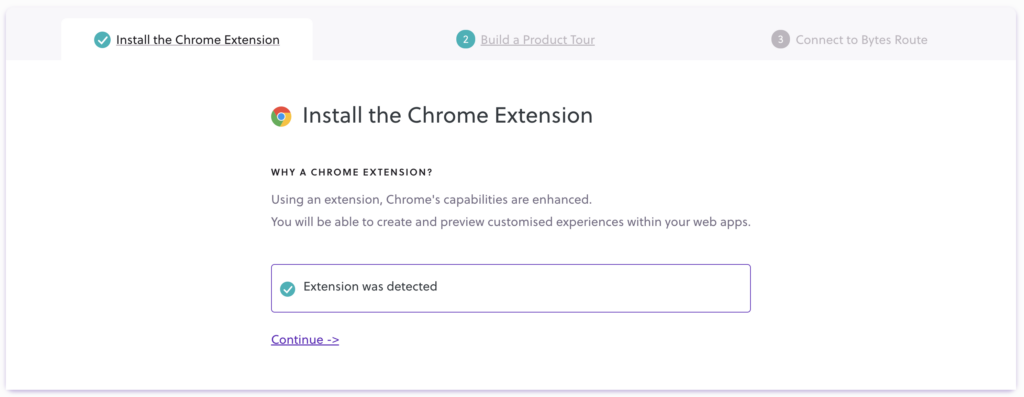
In order to build product tours on your web app, you first need to install our Chrome Extension.
Using an extension, Chrome’s capabilities are enhanced.
You will be able to create, edit, and preview customized experiences within your web apps or websites using the tour builder.
A Chromium-based browser is required to use the extension:
- Chrome
- Edge Chromium
- Opera
- Brave
On the Chrome Web Store page, press the Add to Chrome button to install the extension:

For advanced information on using the extension, you can read the Bytes Route extension docs.
Building product tours
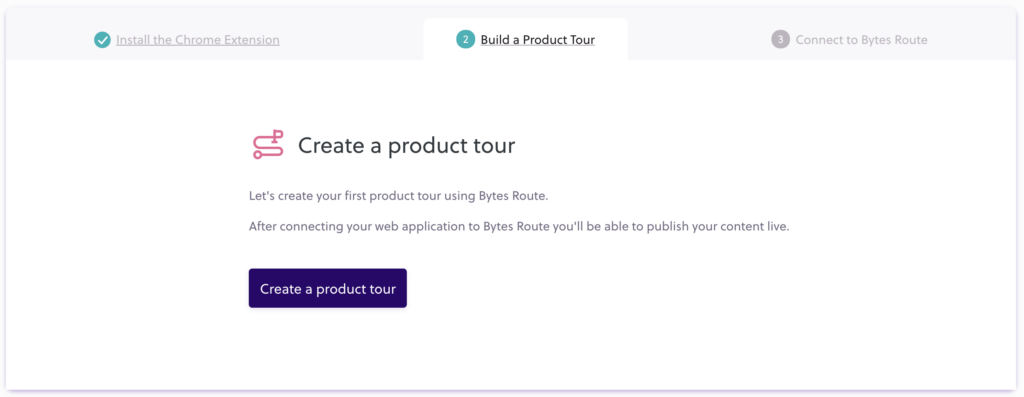
After installing the Chrome extension, you can create your first product tour.
The Help Checklist from the Dashboard guides you through the steps you need to follow to build your tour:
There are two methods of creating content. The first method implies the following:
- Click on Create a tour button located either in the onboarding section or in the product tours tab within the Bytes Route web application
- A modal window will appear asking you to enter the desired URL of the web page you want to build content on
- Once the page loads, a tour builder will appear in the right part of the screen
- Click on Create a tour button within the tour builder
The second method steps:
- Open a new tab in your browser
- Navigate to your website
- Find and click the Bytes Route extension in the top-right corner of your browser
- The tour builder will load in the right section of the page you are on. Make sure you are logged in using your credentials.
- Click on the Create a tour button in the tour builder
Connecting to Bytes Route
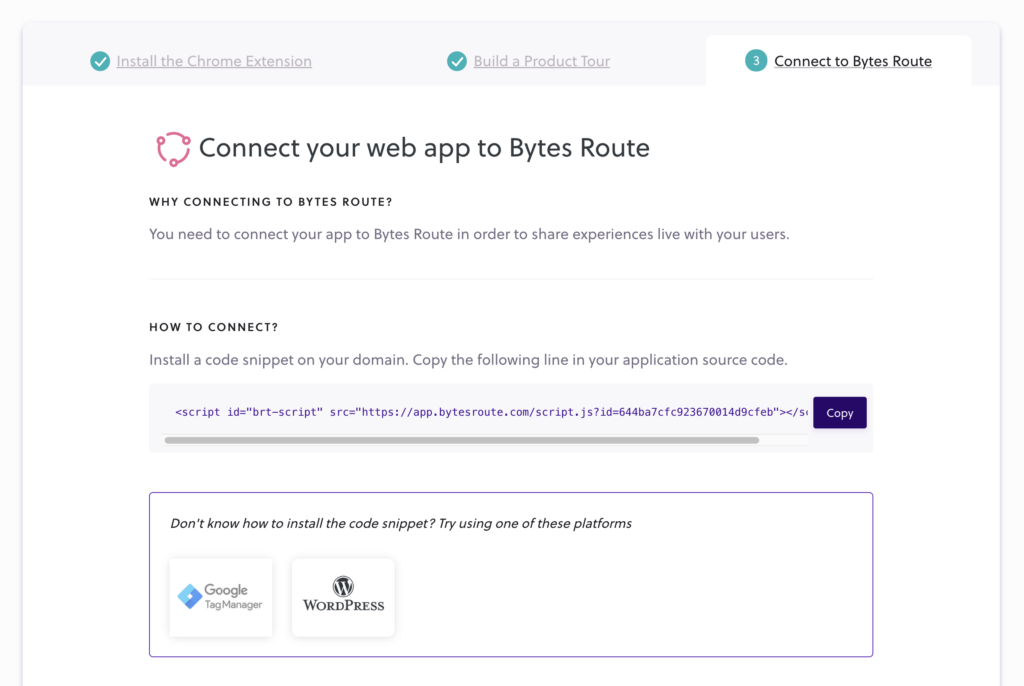
You have to insert a code snippet (containing an HTML script) in your web domain to make the connection between your web app and Bytes Route. After this step, your product tours can be published on your web application.
To add the script to your web app follow these steps:
- Copy the code snippet for your current team, from the Dashboard
- Paste this script to your website
- in the head section
- in the body section if you want it to load after everything else
- Redeploy your website
- Check if the script is detected on your domain, in the Bytes Route Dashboard, by pressing Detect Script
Script example
While Team A is selected, in the dashboard you will find the script for this team. Notice that the ID of the team (12345) is embedded within the code snippet. The ID is unique for each team.
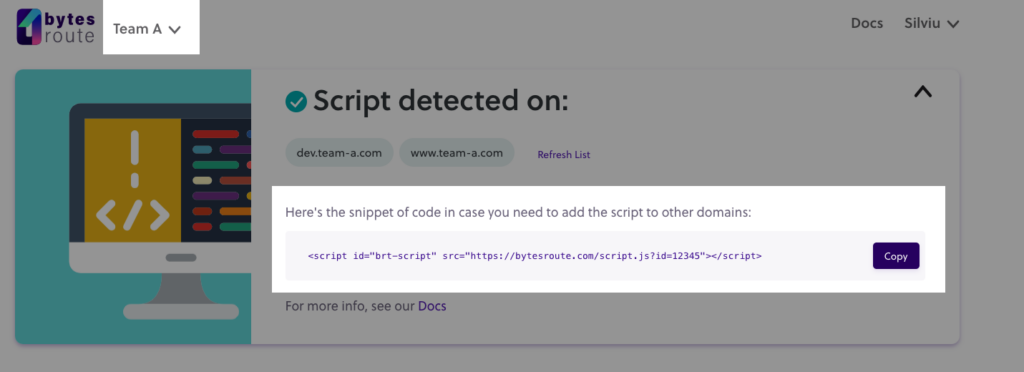
The Bytes Route script for Team A, in the dashboard, would look like this
<script id="brt-script" src="https://www.bytesroute.com/script.js?id=12345"></script>Example of the Bytes Route script for a team with the id of ‘12345’.
Script Detector
The Script Detector contains the Bytes Route script for the current team. This can be copied and hooked to whatever domain you want the script to run on.
It also contains the list of domains that the script has been added to, so far.
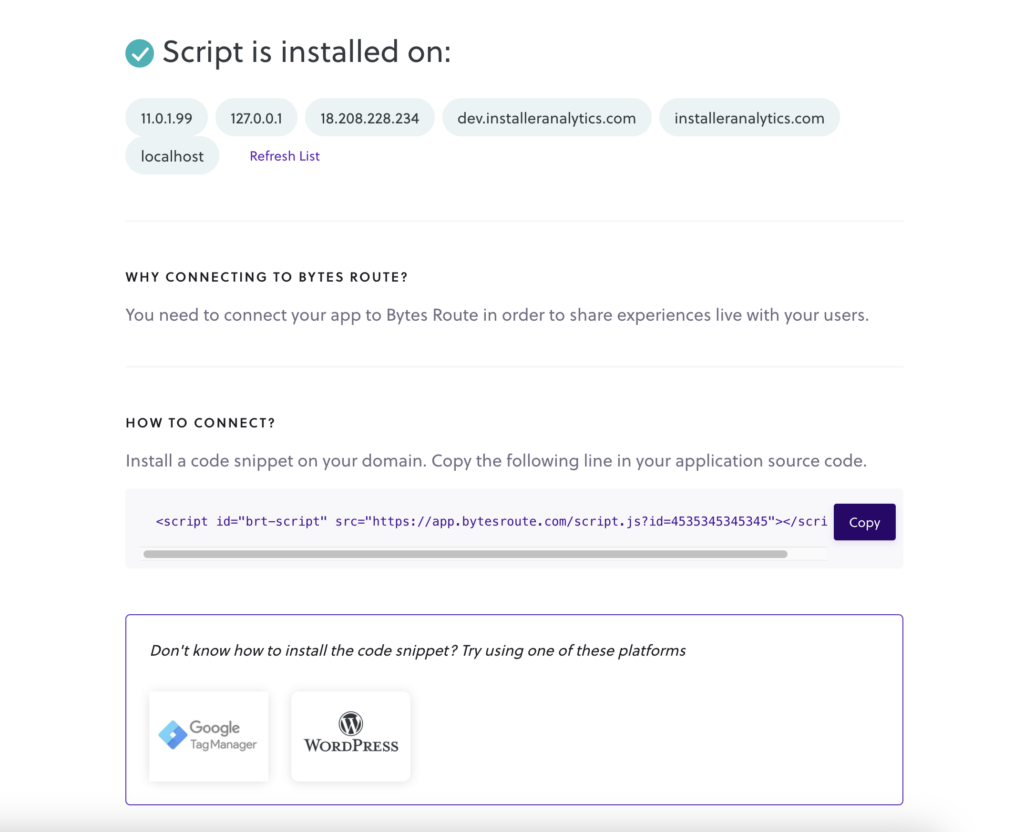
Notice that if the script hasn’t been added to any domain, you will see a warning about this.
Script adding methods
Learn how to install the Bytes Route script in one of the following environments:
- Installing the script directly in HTML
- Installing the script using WordPress
- Installing the script using Google Tag Manager
Programmatic Injection
For optimizing the page performance, you can delay the insertion of the Bytes Route script on your page until vital page components load. Find more information in the Running a tour on custom event docs.
Note: If you have tours set to launch automatically on page load, having the script injected programmatically may cause them to launch with a delay.